Build Your Own Custom Components Featuring Digital Fashion and More!
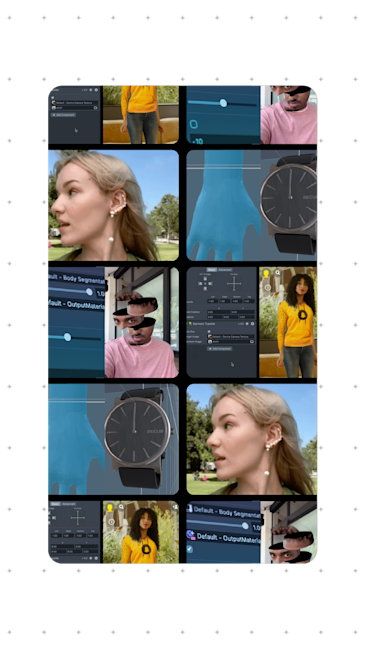
Lens Studio 4.34 is officially here! We’re excited to introduce four new Custom Components and three new features: Custom Component Creation, Custom Structure Inputs, and Mesh Export for Custom Location AR. Learn more about these powerful capabilities, and be sure to check back for more Lens Studio news and releases.
Create Your Own Custom Components
Custom Components are reusable script components that can be used across multiple Lenses to achieve consistent effects or actions, such as adding a grayscale effect to the camera feed or applying the “Baby” SnapML effect. Now, you can build your own Custom Components in Lens Studio, enabling you to create custom effects for your Lenses that can be used seamlessly across multiple Lens projects.
Create your own Custom Component by right-clicking any Script Asset and selecting ‘Create Custom Component.’ This will replace the existing Script Asset with the new Custom Component resource and register it in your local library. For more information on how to edit, manage user permissions, and export the Custom Components you create, check out our documentation.
Explore New Fashion Capabilities and ML Eraser
We’ve added four new Custom Components to the Lens Studio Asset Library, so you can quickly and easily design new experiences. These components are available for download in the Asset Library and offer an easy way to use bundles of interdependent resources, assets, and custom scripts to add effects to your Lens.
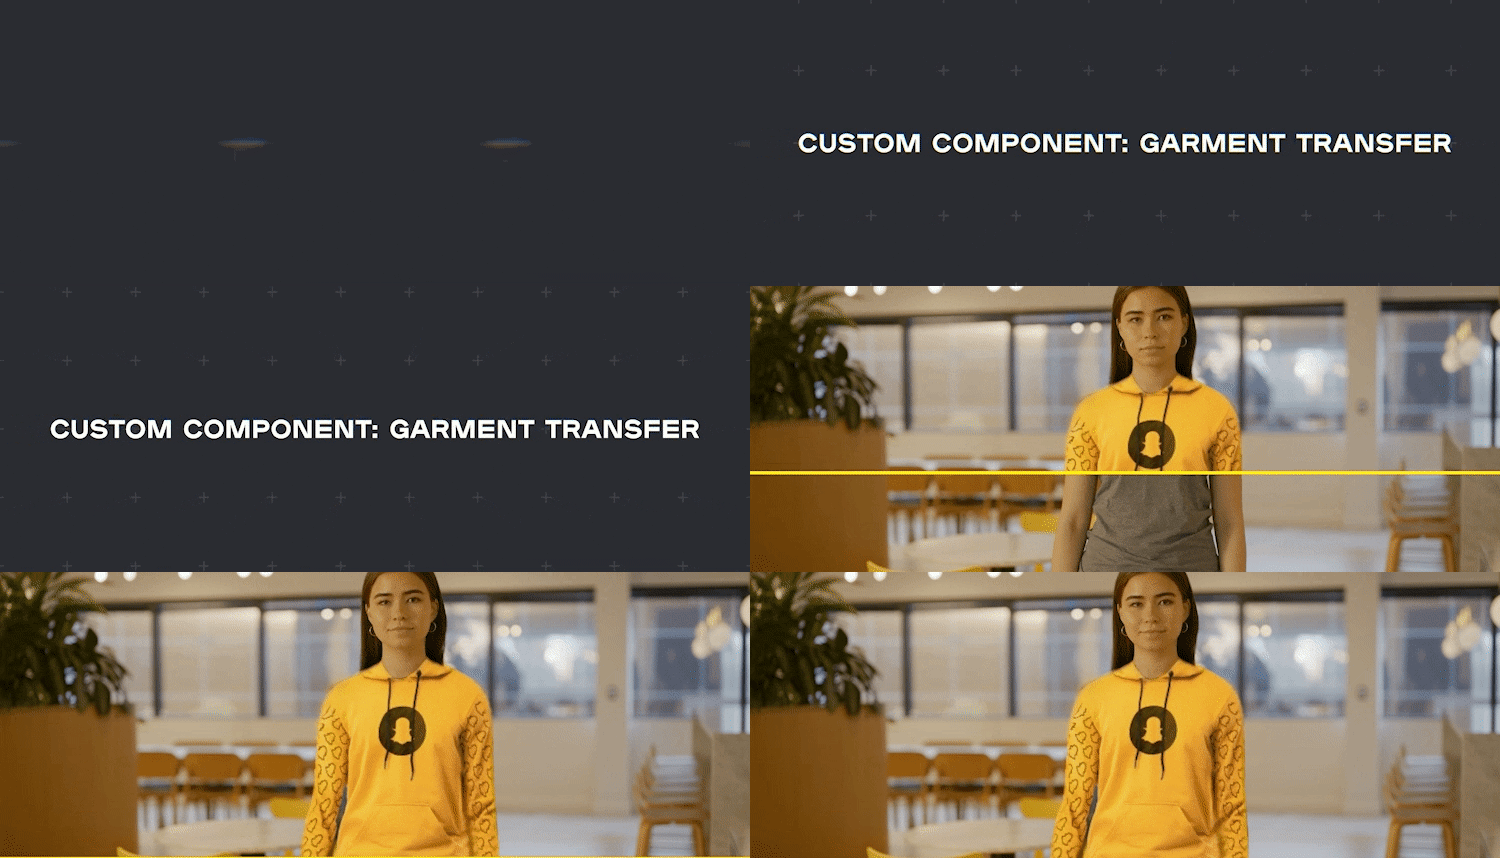
Garment Transfer
The Garment Transfer Custom Component enables dynamic rendering of upper garments like T-shirts, hoodies, and jackets onto a body from a single 2D image. This capability opens up new creative possibilities for Lens Creators to build AR try-on content without requiring 3D assets — making AR digital fashion more accessible and instantaneously achievable for AR developers.
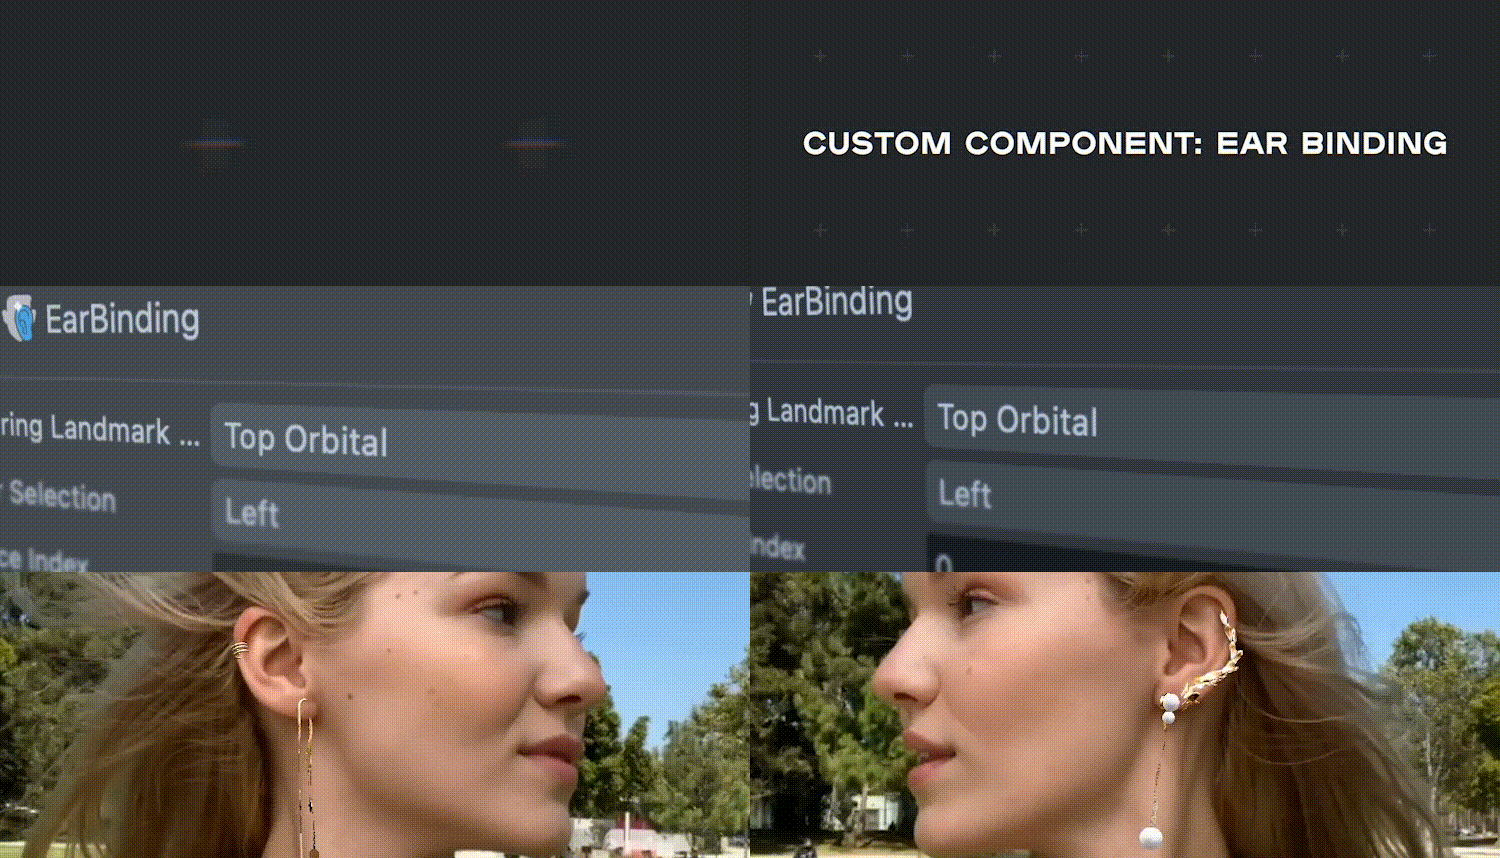
Ear Binding
This component introduces an Ear Mesh extension to the existing Face Mesh, enabling accurate placement of a digital object — like earrings — on a user’s ear. To get started quickly and easily, try out the new Earrings Try-On template. This will help you accurately place earrings and see how different types of complex earrings are realistically represented with physics simulation, hair occlusion, and zoom capabilities.
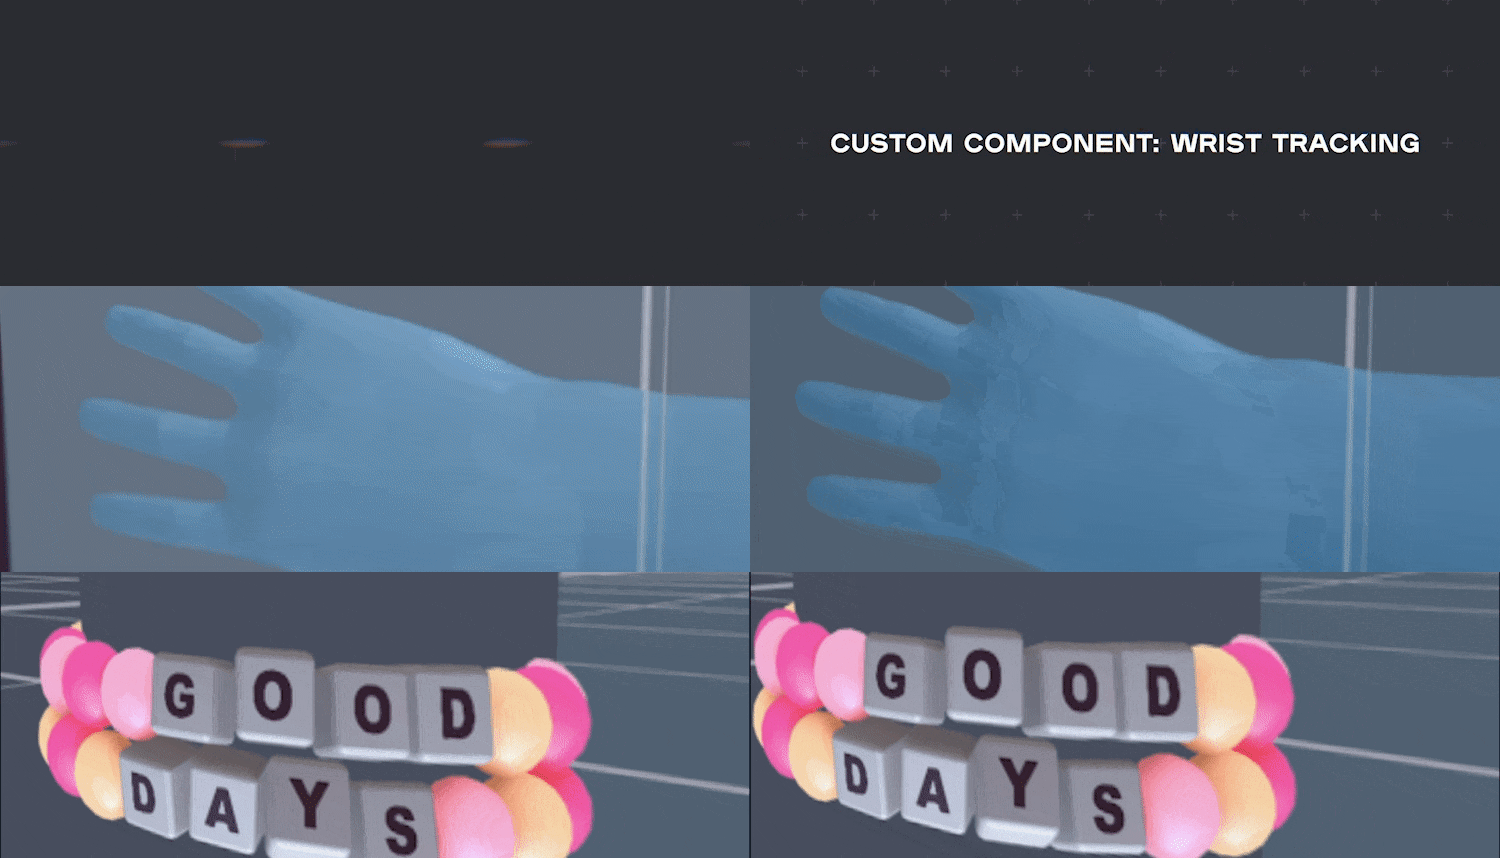
Wrist Tracking
Attach virtual objects like a watch or bracelet to a user’s wrist. To help you get started, we’ve created a Wristwear Try-On Template.
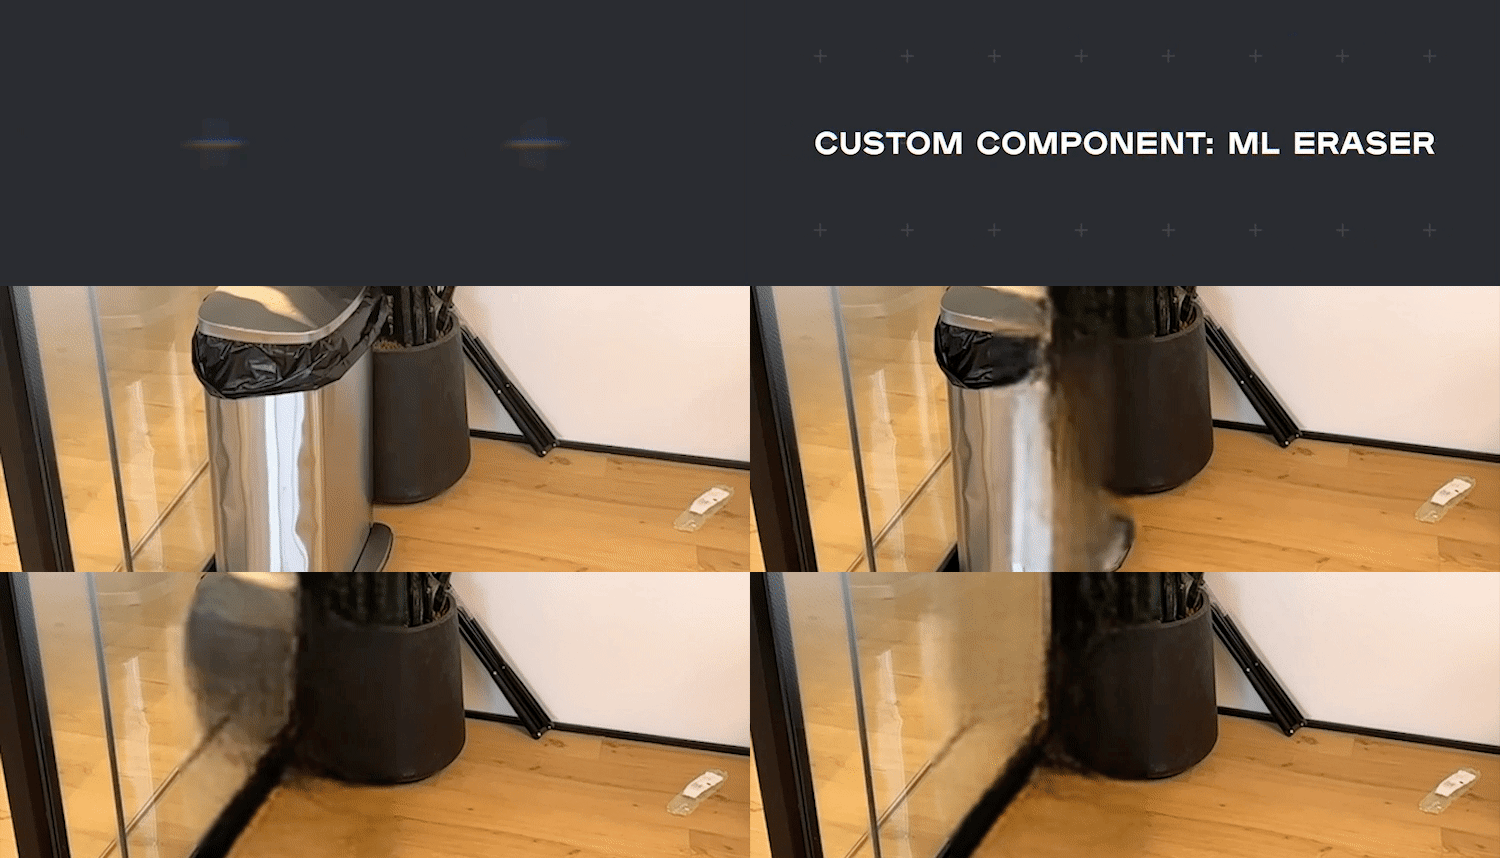
ML Eraser
Create unique inpainting effects by removing objects from the camera feed in real time based on a given mask and realistically recreate any missing areas. To help you get started, we’ve partnered with members of the Snap AR community to create three new templates using the ML Eraser Custom Component: Paint to Erase by Ben Knutson, Disappearing Effects by Ibrahim Boona, and World Eraser by Hart Woolery.
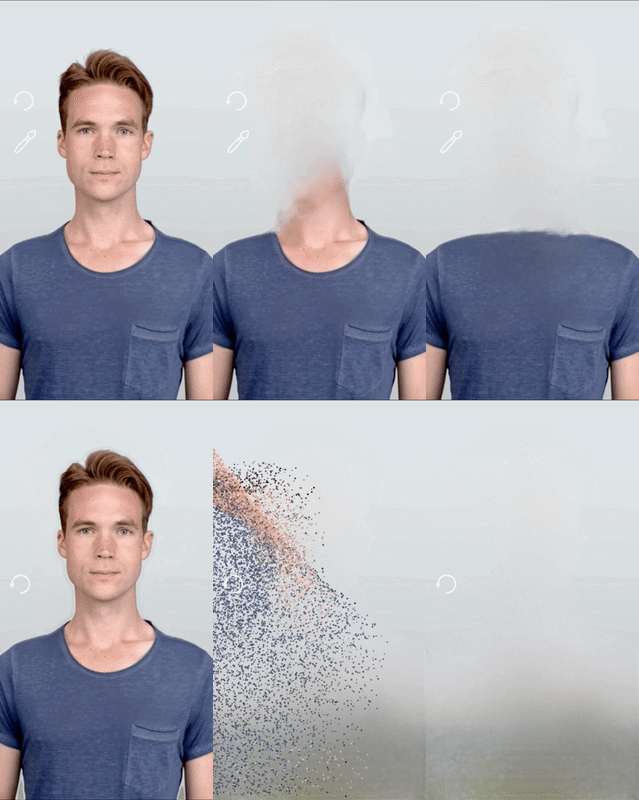
Paint to Erase
by Ben Knutson
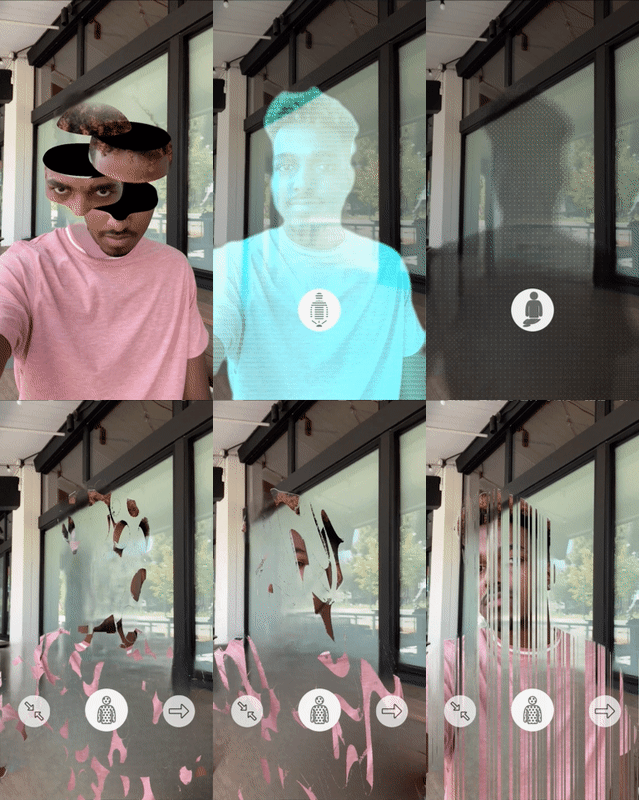
Disappearing Effects
by Ibrahim Boona
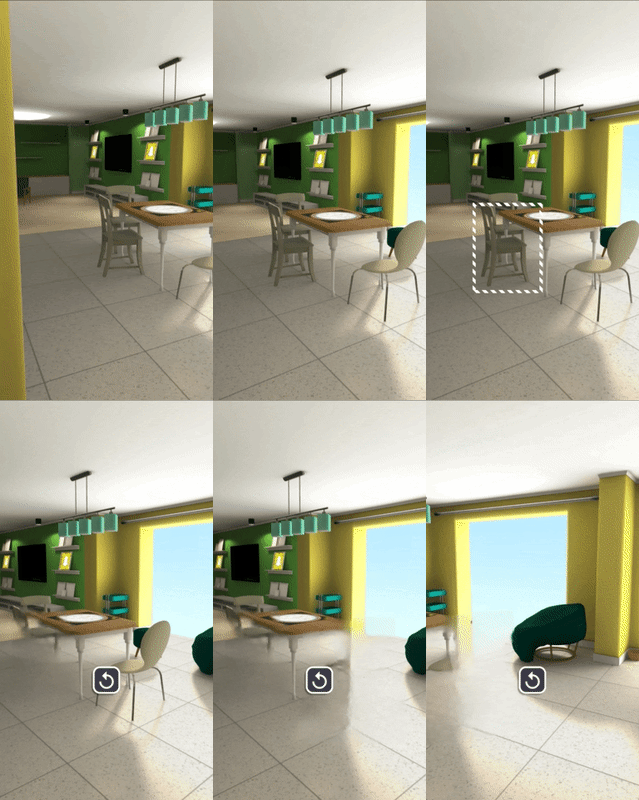
World Eraser
by Hart Woolery
Define Your Own Structure Inputs
In earlier versions of Lens Studio, the Script Editor supported fundamental data types of arrays (int, char, string). Now, you can define custom structures and use them as input types when scripting and cleaning up data, ultimately providing more flexibility when designing Lenses.
Fine-Tune Custom Location Mesh
You can now export a mesh generated in the Custom Location AR creator tool as an OBJ file to edit, fine tune, and perfect the mesh in your preferred 3D editing tool. For most Custom Location AR experiences, the default mesh generated in Lens Studio is a great option, but if your creation needs to be modified to help with occlusion or for specific locations, you can now export the mesh generated in Lens Studio to manually make these adjustments. Once your changes have been made, you can import the modified mesh back into Lens Studio and continue working.
